
This bracelet will always be a one-of-a-kind because it'll be different every time you make it and each link will be original, just because you're basically doing freehand beading and wiring. And your selection of beads, stones, crystals or metals will be entirely your own.
So the instructions are very loose and aren't going to give basics. Or specifics - as I said, freehand.
The framing wire is 16 gauge and I used argentium for this bracelet, because I wanted to fuse the frame. The metalworking involved in this is really simple (or I wouldn't be able to do it!) but if you want to avoid fire, you can see below how the copper bracelet is put together.

Finding something square to use as a mandrel was probably the hardest thing and cardboard isn't the greatest but this is all I could find. The size is about 1 1/4" square (3.75 cm) but the size doesn't have to be the same as mine. The important thing is to make sure all your frames are equal. They don't have to be square - rectangular is fine, long as they match.
Figure out how many frames you will need to make a bracelet the size you want. For instance, if you're making a 7" bracelet and your frames are 1/1/4"wide, you'll need 5 frames; your clasp and 4 sets of jump rings should measure 3/4".
Wrap whatever you're using for a mandrel with the 16 gauge wire. 18 gauge will work but won't be as

Saw the individual squares if you are going to fuse, or use your flush cutters if you are going to end each square with a loop. (see the copper bracelet below).
Even using a #2 blade, I still needed to use a file to clean up the cuts and remove some tiny burrs. Then, I

If you are fusing, you likely know more than I do. Argentium is a wonderful metal to fuse because you just have to heat on either side of the join and wait for

It wasn't too difficult to remove the wobbly areas by using a nylon hammer and the same hammer was used

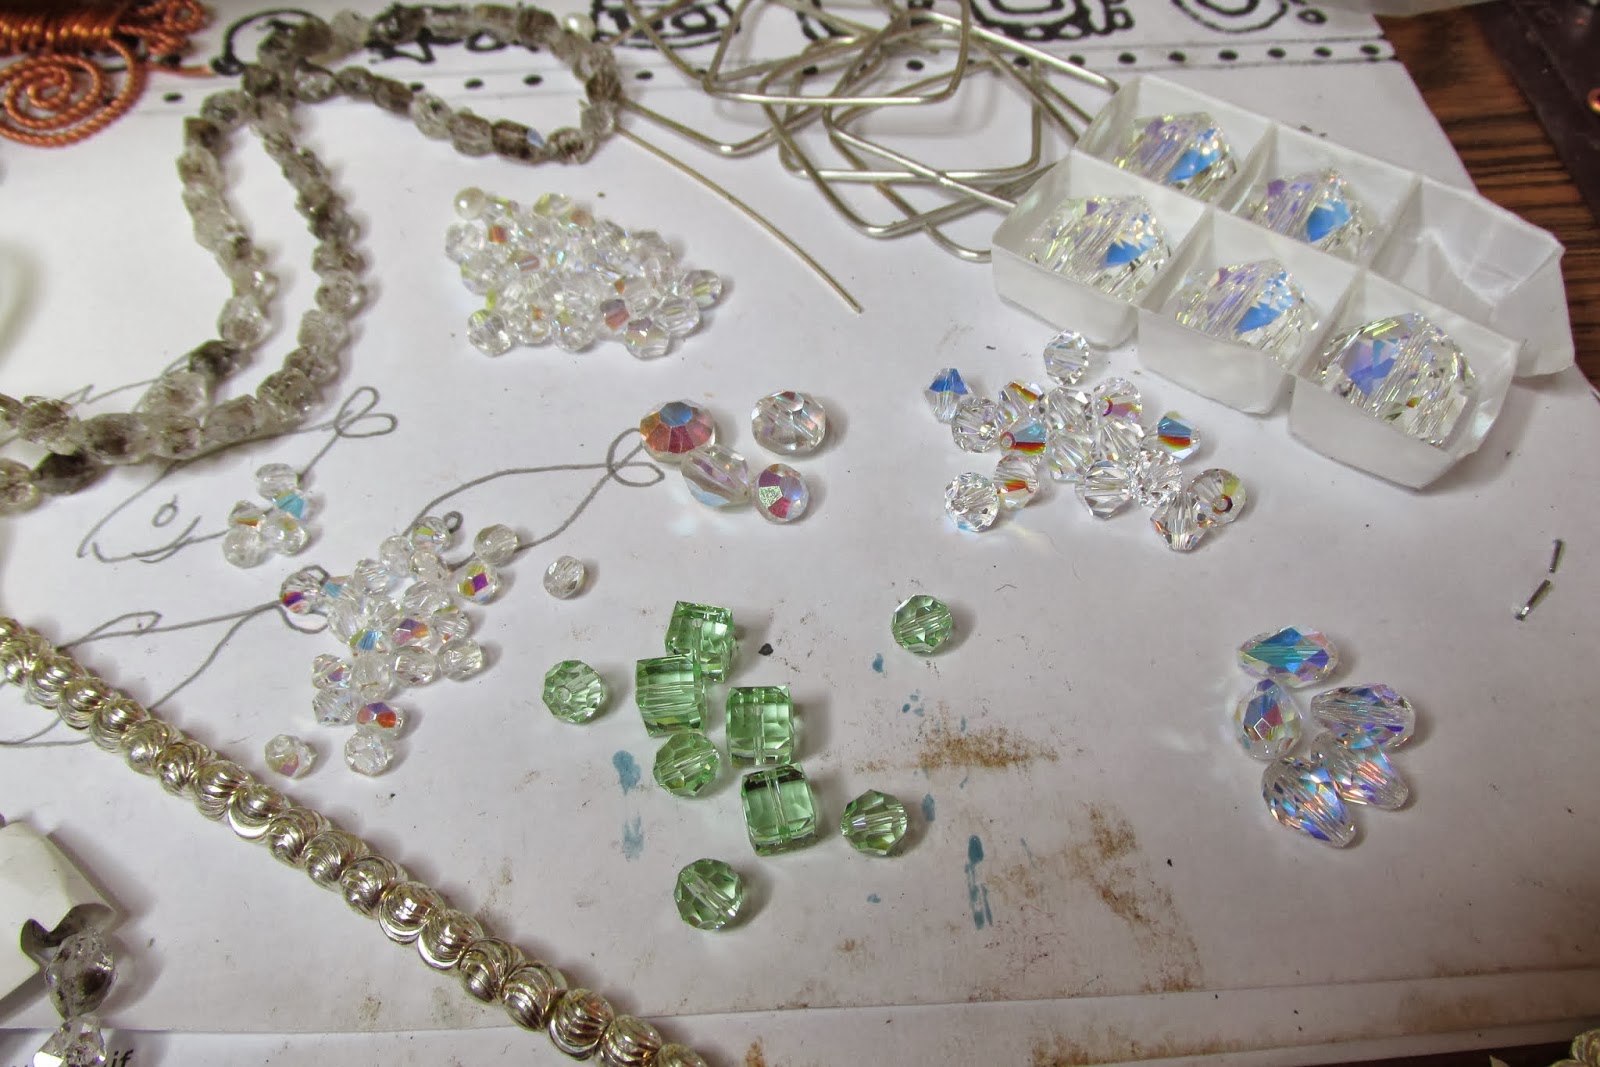
You won't know how many beads you're going to use unless you're a lot more organized than me but you
I used 21 gauge argentium to do the inner frame

You can use anything small in diameter for doing the loops and coils, even a pair of round nose pliers,

Be playful with your design, putting beads here and there and starting and stopping them with loops and coils. If you find beads sticking up it's easy to push and shove with your fingers to rearrange your design but be careful not to stretch your loops. You're just making a design that is pleasing to the eye and you can
When you have finished decorating your frames, use your fingers to gently curve them so that they curve around a wrist instead of laying flat. When you do your gentle arc, push the beads and wire back down if they tend to pop up a bit.
This copper bracelet is the first I made of this style and I made it for myself. Look at the frames and see how I made two connecting loops for each frame. The

But I have huge wrists and a dainty bracelet would look like a pea on a pumpkin, so it suits me.

Oh yeah, one last tip. I always make an extra frame to use as a pendant. They're cool.
Use good strong jump rings to connect the frames and a handmade clasp will look better than a bought one. Making this should be fairly simple for most people so my instructions are mainly for the design but if I've left out something you need, let me know and I'll try to help. One of these days I'll get really brave and solder and cut tubing to connect the frames but we'll think about that tomorrow.
Really inspirational! I like the idea of using argentium for fusing! Why pickle? Will share on my social media!
ReplyDeleteThe argentium makes a gorgeous bracelet and for me, I like the smaller size. Makes me want to get out my tools and order some wire.
ReplyDelete