Friday, 28 February 2014

Evolution of a Truly Original Bracelet and Tutorial

I'm cheating here, because only one link is completely finished but the way I've been moving lately, it's a
good thing to get the tutorial up before we're all too old to hold pliers.
This bracelet will always be a one-of-a-kind because it'll be different every time you make it and each link will be original, just because you're basically doing freehand beading and wiring.  And your selection of beads, stones, crystals or metals will be entirely your own.

So the instructions are very loose and aren't going to give basics.  Or specifics - as I said, freehand.

The framing wire is 16 gauge and I used argentium for this bracelet, because I wanted to fuse the frame.  The metalworking involved in this is really simple (or I wouldn't be able to do it!) but if you want to avoid fire, you can see below how the copper bracelet is put together.

Finding something square to use as a mandrel was probably the hardest thing and cardboard isn't the greatest but this is all I could find.  The size is about 1 1/4" square (3.75 cm) but the size doesn't have to be the same as mine.  The important thing is to make sure all your frames are equal.  They don't have to be square - rectangular is fine, long as they match.

Figure out how many frames you will need to make a bracelet the size you want.  For instance, if you're making a 7" bracelet and your frames are 1/1/4"wide, you'll need 5 frames; your clasp and 4 sets of jump rings should measure 3/4".

Wrap whatever you're using for a mandrel with the 16 gauge wire.  18 gauge will work but won't be as
strong and you should make your frames smaller and more delicate.  After I cut the last loop and removed it from my mandrel, I wrapped it in painters tape to keep it together for sawing.

                                                                                                                                                                   Saw the individual squares if you are going to fuse, or use your flush cutters if you are going to end each square with a loop. (see the copper bracelet below).


Even using a #2 blade, I still needed to use a file to clean up the cuts and remove some tiny burrs.  Then, I
wiggled the squares back and forth like a jump ring in order to get them to spring together as tight as possible and ready for fusing.


If you are fusing, you likely know more than I do.  Argentium is a wonderful metal to fuse because you just have to heat on either side of the join and wait for
the metal to flow and quickly remove the heat.  The wire doesn't usually get fire scale so I just quenched it and cleaned it with some fine steel wool.  My fusing skills are pretty rusty and were never great to begin with, so the squares developed a few lumps and bumps.


It wasn't too difficult to remove the wobbly areas by using a nylon hammer and the same hammer was used
to harden the metal after correcting the shape.  I've got a tiny little anvil that was given to my late husband, a blacksmith, as a joke and it was the perfect size to square up the frames.  The peeling paint didn't hurt a thing.


You won't know how many beads you're going to use unless you're a lot more organized than me but you
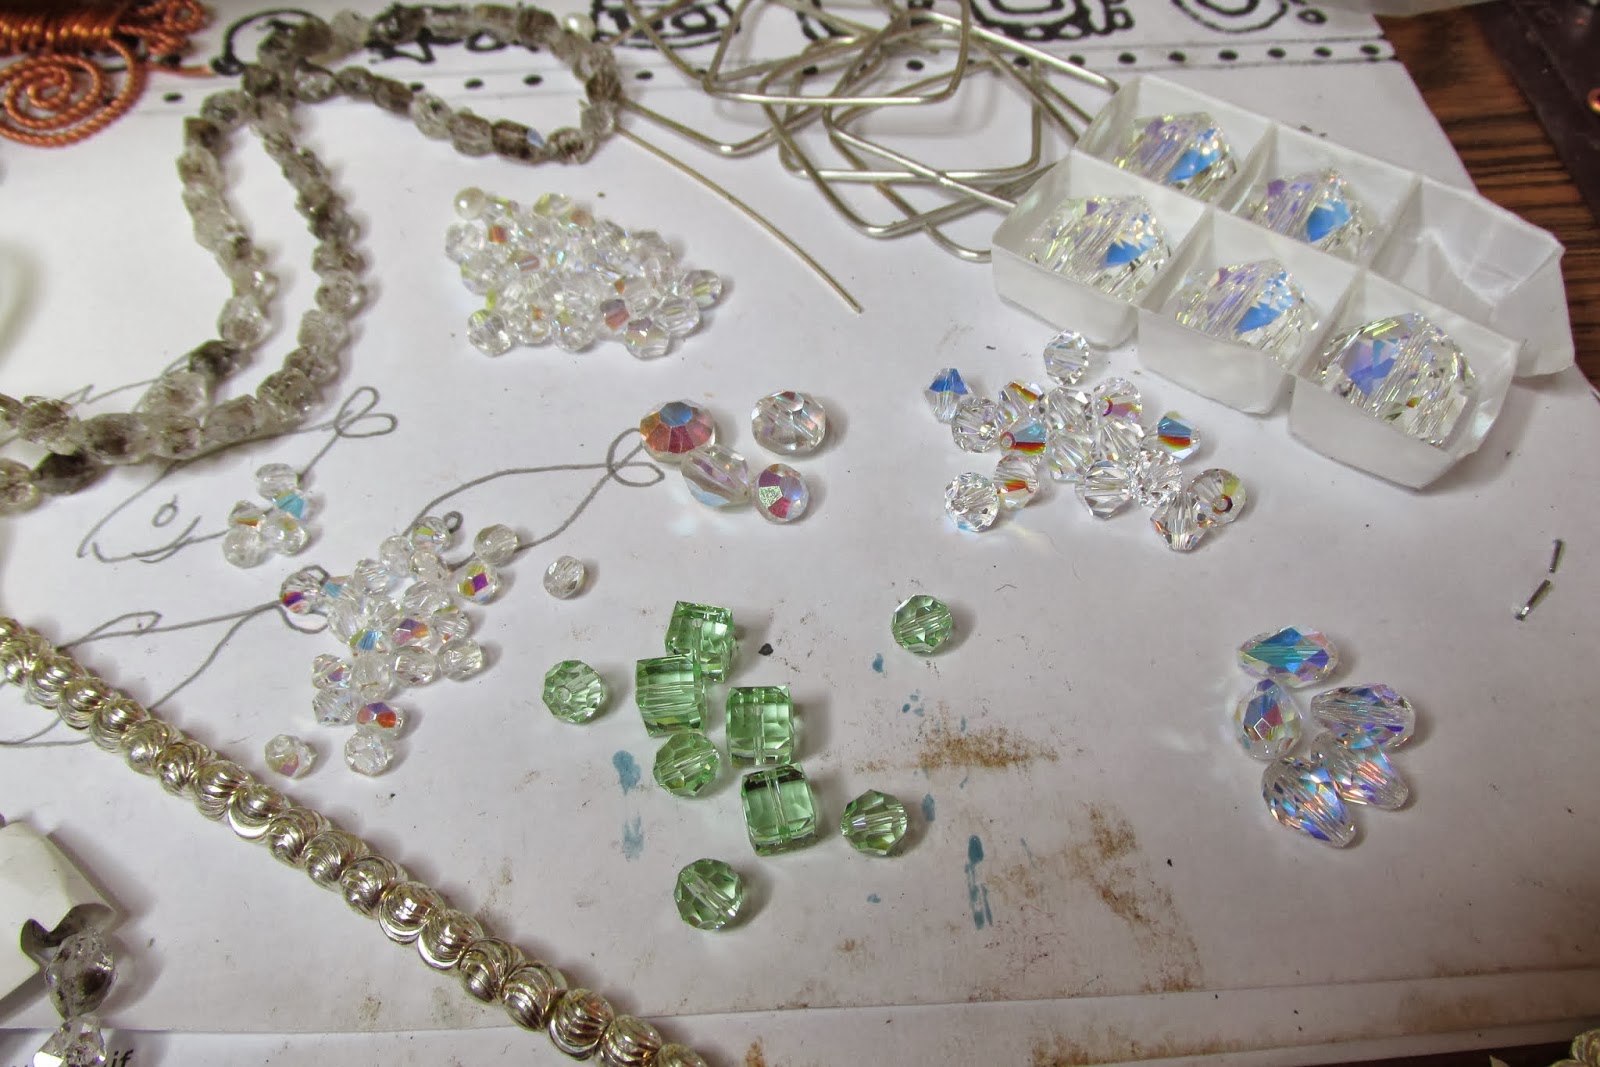
should have some idea of your color scheme.  I decided this bracelet was going to be crystal bling, so I set out some of each crystal, metal and Herkimer diamonds, ready to use where desired.  I didn't use the green crystals in my first frame and don't know if they'll fit in my design.  But they might!


I used 21 gauge argentium to do the inner frame
design - you can use a finer gauge but your loops and spirals won't be as strong.  Start your wrap anywhere.


You can use anything small in diameter for doing the loops and coils, even a pair of round nose pliers,
but something like a fine knitting needle is easier to work with. (my fingernails aren't really green - it's the dirt off the charcoal block, steel wool and wire.)


Be playful with your design, putting beads here and there and starting and stopping them with loops and coils.  If you find beads sticking up it's easy to push and shove with your fingers to rearrange your design but be careful not to stretch your loops.  You're just making a design that is pleasing to the eye and you can
use the wire on the frame to create a rustic look or a more formal look.  Again, look at the copper bracelet - the color and the tendrils around the frame make it very casual and rustic.  This is my first frame finished.  Hard to tell from the picture but it is actually square with soft corners.
When you have finished decorating your frames, use your fingers to gently curve them so that they curve around a wrist instead of laying flat. When you do your gentle arc, push the beads and wire back down if they tend to pop up a bit.


This copper bracelet is the first I made of this style and I made it for myself.  Look at the frames and see how I made two connecting loops for each frame.  The

frames are monstrous - 2" x 2" - and I made them freehand so they aren't very square.
But I have huge wrists and a dainty bracelet would look like a pea on a pumpkin, so it suits me.


This is a better view of the connecting loops on the frame and gives you a good idea of the crazy bead mix I used.
Oh yeah, one last tip.  I always make an extra frame to use as a pendant.  They're cool.


Use good strong jump rings to connect the frames and a handmade clasp will look better than a bought one.  Making this should be fairly simple for most people so my instructions are mainly for the design but if I've left out something you need, let me know and I'll try to help.  One of these days I'll get really brave and solder and cut tubing to connect the frames but we'll think about that tomorrow.

Wednesday, 25 December 2013


Monday, 21 October 2013

Great Modahaus Giveaway

The Modahaus set-up for jewelry photography is perfect for all of us who aren't as good at photography as we think we are at making jewelry!  I bought the mini model and it's amazing how much it can improve the pictures of your creations.
Pearl of The Beading Gem has a great giveaway from Modahaus of their all-purpose tabletop model and, although I hate to tell anyone else about the giveaway, I get an extra entry for sharing it on my blog.
So check out Pearl's description of the Modahaus and enter the contest!
http://www.beadinggem.com/2013/10/modahahus-ts320-tabletop-studio-giveaway.html

Friday, 17 May 2013

Just One More Dog Post!

Sorry, I can't help it; consider yourself lucky that I don't have babies!
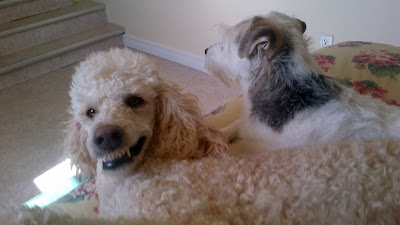
The dogs and I made a road trip in April to visit family in Ontario.  My sister is very fussy about how poodles should and should not look and Corky fit right into the "should not" category so she stole him one day (he was not impressed) and fixed him.  So he had a makeover and now I have a before and after photo.


Yes, he certainly does look much better.  Although he went from "cute and cuddly" to "elegant and sophisticated."


And to prove his sophistication:
Isn't that an elegant position? 

Sunday, 28 April 2013

Dewey and Corky

Dewey finds it very sad that Corky is wasting his life getting high.


Corky has no intentions of quitting when thinking about the night brings back such great memories.


Yes, parts of the evening were slightly embarassing.


But after a good sleep on a soft pillow, we can face the morning.

Sunday, 24 March 2013

Brass Bird Shadowbox or two in the bush

I think I saw something like this somewhere in my prodigious reading and if so, I apologize to the originator.  If I didn't, maybe I dreamed it because that's happened more than once.  Sometimes I even dream that I'm reading, which really confuses the issue.
Since I got the rolls of thin brass and copper, this has been one of my goals but it took two attempts to get it right.  And a lot of playing around to figure it out.  I think I'll do a down-and-dirty tutorial when I get time in case anybody else wants to do a shadowbox.

There are a few things I'd do differently if I did another one and a few things that really show up in an enlarged picture that you don't notice at regular size.  But it was fun and I'm pleased.

Saturday, 16 February 2013

Experiments with foil

Do you remember using the copper etching kits when you were a kid?  Maybe you have to be a baby boomer because I haven't seen them for years.  You got a box with a sheet of copper, tracing paper, a design, wooden sticks to emboss and repousse and a little vial of solution to darken the low spots.  Sound familiar?
They've been on my mind for some time because I wanted the copper.  Something light enough in gauge to be able to do the embossing and repoussing (is that a word?) to make some really interesting jewellery pieces.  No luck at all, anywhere, until John Rasmussen suggested Whimsie Studio, which has not only copper, but brass and aluminum!  Woo Hoo, success at last, I thought.  And then found out that Whimsie will not export.  So John stepped up and offered to be the intermediary, shipping-wise, which he did.  And because I couldn't order direct, instead of ordering small in case my ideas didn't work, I ordered a roll each of copper and brass.  I might be doing all sorts of copper and brass embellishments around the house.

First step was to cut a piece of copper foil about an inch-and-a-half square and see if it was going to be easy to do the stuff.  You know, the in and out stuff.  Embossing and that other word that spell-check doesn't like.  A pencil was perfect for drawing the design, the tools were little double-ended metal ball-type things that came from the hobby section of the dollar store.  I have no idea what they were originally intended for but they were just the ticket here for the rubbing.  I used the sharp end of a pair of compasses carefully over the pencil drawing to line the design.  The compass was pretty handy too, for making the double line even all the way around, even though this was just an experiment.


 Second step was to see if I could solder the foil sheet onto a sheet of heavier copper.  I wasn't sure if the heat required to melt solder would also melt the foil sheet and I'm a rank amateur at the soldering business so anything is possible. 


The first attempt, I used extra easy solder pieces and sweat soldered it onto the back of the foil piece.  I was using my mini-torch and it's almost out of juice so it melted the solder, didn't melt the foil but wasn't hot enough to heat the copper backing enough to make the transfer and hold the two pieces together.

Having learned the hard way that dirty solder will not melt and will not stick, I took my foil piece to the kitchen sink and scrubbed it with a piece of steel wool.  Unfortunately, I forgot that the heat had made the little piece butter soft and I scrubbed away part of my design before I realized what I was doing.


I used a piece of sandpaper (carefully) to finish cleaning both pieces and tried it again with a plumbers torch and some easy paste solder.  This time the two pieces soldered together, although on a "good" piece, I'd worry more about all the edges being perfectly flat.  Two big lessons learned here:  clean with sandpaper GENTLY and use less paste solder, further inside the top piece, so that it doesn't squish out when it melts.
The blacking was just done with a black sharpie with a quick sanding, just so that I could see what a finished piece would kinda look like. 

Conclusion?  This is going to open up some fun possibilities for me if I take my time and remember the lessons learned.  Copper backing will work and leather too, although that might be a whole different experiment!